Towable parking signs

Towable Offenses signs

Parking on Private Property

vehicle parked on the premises not in compliance


Many apartment, and townhouse

communities, as well as some businesses require

vehicles to display a parking sticker or permit. Any

with the restrictions and/or designations, and without

permit, may be towed at the property

owner’s request. This towing is performed by private

contractors, and recovering one’s vehicle can be very

expensive and inconvenient.

Parking Signs

ANYTIME. A sign that indicates NO STANDING or NO

STOPPING means that a driver may not wait in his/her

Violation of these posted signs

will result in a ticket and possible towing.


Under no circumstances should anyone park where

there are signs indicating NO PARKING or NO PARKING

vehicle at that location

Handicapped Parking signs

Violation

of this parking restriction will result in a ticket and a fine,

as well as possible towing.

Unless you have special license plates with the

international handicap symbol or a special handicap

permit displayed, you MAY NOT park in a space

reserved for the use of handicapped persons.
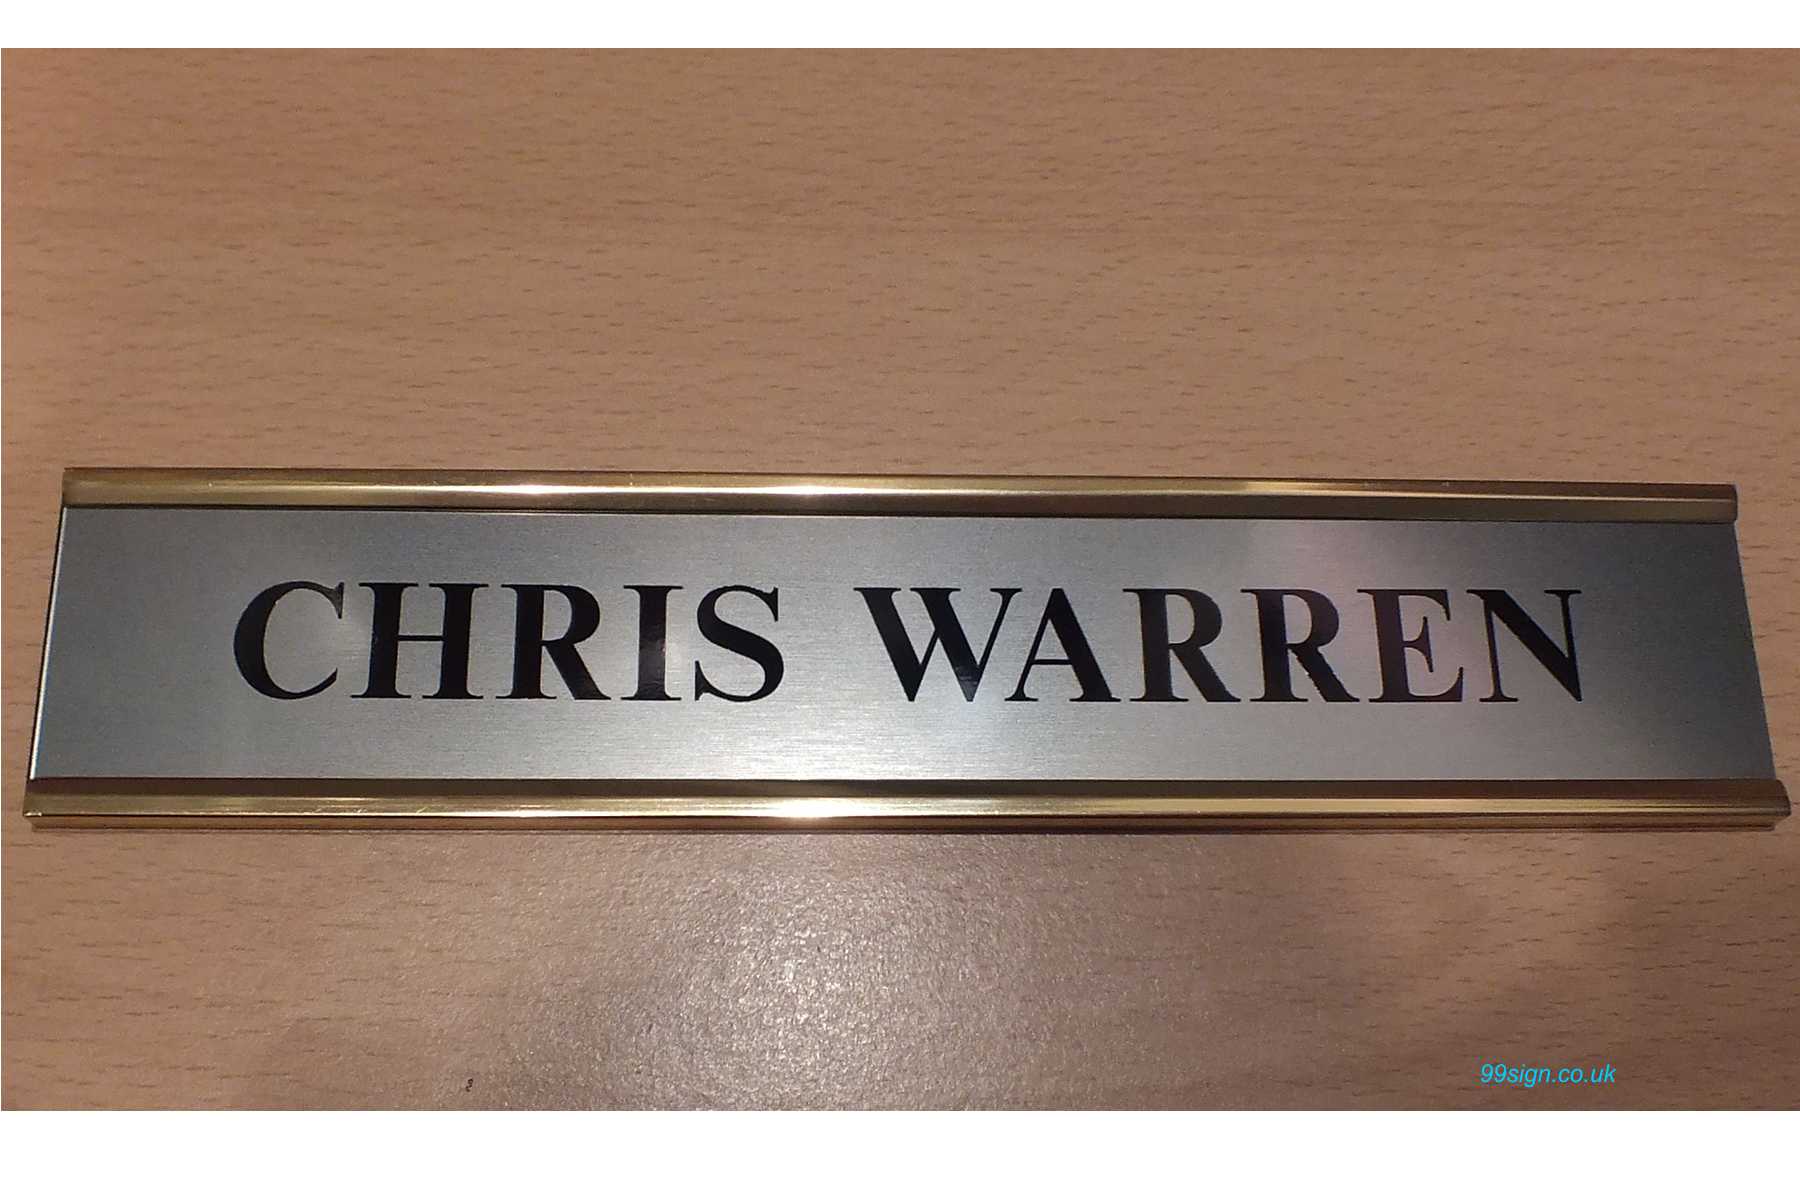
 

making Laminated office Signs

A Guide to making Laminated office Signs


Laminators are used to protect paper from becoming torn, stained and damage.  Laminating is a good way to prolonging the life of paper to use as sign, notices or point of sale signage, to ensure remain in good condition. Once you’ve purchased a laminator the only requirement is laminating pouches. Laminating pouches come in a Matt or Gloss finish. Gloss finished pouches stand out makes them suited for door signs and notices boards.

Pouches come in many sizes like a5 a4 a3 a2 size, however the maximum size you can use for sing making will be determined by the laminator you have. Corners can be rounded or square, best to use rounded corners for the sake of safety. Laminating pouches come in thicknesses which are measured in Microns Most pouches will be 150 microns to 450 microns,  A micron is used to describe thickness  a micrometre which is 1 millionth of a metre. Thicker more rigid laminating pouches are best for signs. Check your laminators’ manual as not all machines can handle the thicker pouches.

Instructions how to make a rusty office door sign

Instructions to make a rusty office door sign

In upper corners Drill holes in sign and string a wire and hang from a wall or office door signs.

Paint the surface of tin plate with a primer paint, as the background color of  rusty sign. use a little dried cinnamon over the sign area while the paint is drying create  rusty look. Allow to dry completely. make a text message on the sign. Use, pencil trace a design a or with stencils freehand the text for the sign. Paint the text on the tin plate sign with a brush. Use paint that will contrast with the back ground color you have for background.  e.g, signs have black or blue text on a white background. Use more cinnamon over the sign’s custom text before the paint dries.

LIST OF DOOR SIGN NAMEPLATE


Amount of Lettering 27

Awiiiny Lettering 33

Backing Up Letters 14

Barber I’oles 21)

Backs for Glass Signs 3G

lioai d Signs 33

Bi ass Signs 33

Bronze Signs (or Tablets) 33

Burnishing (gold leaf) 12

Care of Brushes 38

Curved Betters 31

Ciicies 21

Chipped Glass Signs 4a-46-4(

Chalk Bine 30

Coating Signs 40

Coioi s (how to mix) •>■*

Cutting- in Color 32

Cutting- Letters 5

Corner I’ieces *1

Cleaning- L’p Gold Job 15

Cleaning Glass 32

Damp Brushes 3tj

Designs *>

Diiliing- Holes in Glass 31

Kmbossed Gold 20

ii^tching (gold on glass) 24

Etching- (brass signs) 4 i -48-4!)

Btching (glass signs) ■13

l-irst Principles 4

first Gilding 11

I’lat Coating 21

flitters 4

Mock 24

l-’rames (muslin and oil-cloth)., .yj

l-’iosting on (jlass 2o

(jalvanized Iron Letters 3!i

liaivaiiizcd lion (how to paint).. 37

Gilding (outside) 21)

( rildei s Tip 2(i

Gilding Raised Letteis 2i

Gilding (surface or Hat letters).. 3ti

Glass Signs S-4 3

Glass Cleaning s^

Glass Gilding !^

Gold Stipple (on boaids) 21

Gold Leaf 3!)

Indelible Layouts 37

Instiuctions 13

Introductory 5

Japanned Tin Signs 32

Klean Kups 2S

Kit (the) 50

Lacfjuer (on tin signs, etc.) 30


Laundry Signs 22

Jjayouts 7 and 22

Lemon (iold Leaf 23

i^etters (names of) 6

Lettering Brushes 37

Letters 6

Lines (chalk) 30

Lines (thread) 30

Li((uids (conmionl\- used) 29

Muslin 38

Muslin Signs 22

-Moulding (for glass signs) 31

oilcloth Signs 32

Oilcloth 28

Outlining and Shading If)

I’atterns 7-16-40

Batching (gold jobs) 12

I’ounce Bag 8

Bounce Pattern 16

Piir.iing Coat (for boards) 24

Putty (all kinds) 31

Quick Size 28

Questions 50-51-52

liaised Letter- Signs 41

liaised Letters (on boards) 28

Raised Letters (on wire) 27

lieal Estate Signs 30

Screen Signs 20

Second (‘oating 40

Second (Hiding 11

Shading 16

Shellac 27

Shop Equipment 36

Silvei ing (ilass 41 and 42

Silver Leaf 28

Size (slow) 42

Skewing Box 29

Smalting Signs 16

Siiacing Letters 32

Special Letters 6

SLenciling 43

Thread Lines 30

Tricks of the Trade 52-53-54

Tracing Patterns 28

Ti-ansparency 26

Varnish Grounds 38

Varr-iishing Gold Work 16

Wall Signs 37

Wagon Lettei’ing 25

Water Size 9

Washing Gold 13

White Frosted (51ass 26

Wii-e Signs 25

Window Signs 26

Window Shade Lettering 41

Zinc Etched Stencils 26

COLORS (How to Mix) for door signs

COLORS

(How to Mix)

Tn this table the hrst color named in each item is the base and should be used in the greatest quantity. The other colors should be added until desired shade or tone is reached :COLORS (How to Mix) for door signs

White and red produce pink.

Red and black produce ma- roon.

Yellow, blue and red produce bronze green.

White, black and red pro- duce lavender.

Red. yellow and blue produce citron.

Yellow and blue produce green.

White and yellow produce cream.

Yellow and red produce orancfe.


Blue and red produce violet. Yellow and black produce olive.

Red and blue produce purple.

Yellow, black and red pro- duce brown.

Red, yellow and black pro- duce russet.

WHiite and blue produce light blue.

White, black and red pro- duce lavender.

Red, yellow and blue produce citron.

Yellow and blue produce green.

W’^hite and yellow produce cream.

Yellow and red produce orange.

Blue and red produce violet.

White and black produce gray.

White, yellow and red pro- duce flesh.

Yellow and black prodtice olive.

Red and blue produce purple.

Yellow, black and red pro- duce brown.

Red, yellow and black pro- duce russet.

door sign painter’s kit

No door sign painter’s kit is cotn- j)lete without that most valu- able article, the chamois skin, for wiping and drying glass and other surfaces.

A small alcohol lamp is gen- erally carried in the kit for boiling and making water size.

A soft sponge is another very essential thing in the kit and is used for washing glass signs and on window work.

door sign painter’s kit

Dainp windows in cold, changeable weather should be kept dry with an electrical fan.

Sign rods for swinging signs should be made of gaspipe, supported by chain or wire cable, using small turnbuckle to tighten and level signs.

Ne\er add oil to asphaltum It will retard the drying. Add rubbing \arnish or quick size to insure hardness.

Asphaltum is used for glass. o\ er color and gold, and sliould be ajiplied thin.

Never buy your staple colors in one pound cans, if it is pos- sible to get them in five pound press cans. This will avoid waste and is much more con- \enient, it being best to get most any color in japan or oil put up in five pound press cans.

Don’t use cutting in color that has been standing for sev- eral days. It should be made up fre^h for most every job. and will avoid trouble, as it be- comes fat and li.ard to wnrk.

ETCHED BRASS DOOR SIGNS

ETCHED BRASS DOOR SIGNS

Brass signs are usually made of 16 gauge patent leveled etch- ing brass. Cut plate to size and have same Imffed to a per- fect surface. Lay out and make pounce i)attern with let- ters sent  BRASS DOOR SIGNS


Before laying out pounce pattern clean entire j)late with turpentine and whit- ing, being careful not to scratch the i)late. When thoroughly clean, pounce on the layout with while jxnmce bag. and with lead pencil in one side of compasses trace top and bot- tom lines of lettering, and with T square go over pounce lines, squaring and correcting each letter perfectly. While cut- ting around letters with the acid resist keep your fingers from coming in contact with polished surface, as this will leave a greasy mark and acid will refuse to etch

CHIPPED GLASS DOOR SIGNS

CHIPPED GLASS SIGNS

Chipping glass signs have remained a secret for many years, although several have described the process but have nex’er gone into detail suffi- cient!}’ far that one could really master tlie art or become ])roR- cient and use it to any advan- tage financially. We have or- ganized The Pullrr.an School of Lettering for the })urposc of


helping its students instead of taking their money, and the more you want to know the better we like it. Chipped glass signs should be made on plate glass only. With the letters sent you, make a pounce pattern of what you want to say on the sign and perforate. Clean your glass and paste on a piece of heavy manila paper that has been prepared as fol- lows : To a half pound of gran- ulated glue (that has been soaked in water four hours) shave a half bar of laundry soap ; to this you will add a half pint of glycerine and heat in a double boiler until thoroughly cooked. While this mixture is hot. coat a larp^e sheet of manila ])aper and let stand over night (or until dry), then wet glued side with a damp sponge and apply to the glass, smoothing out all wrinkles with a piece of cigar box lid that has been rounded on edge with sand- paper. When paper is dry, lay on your pounce pattern face down and pounce letters with a dark “pounce bag.” Then, with a lead pencil and T square, g. ‘ o\er top and bottom lines of lettering. This will make them level and sharp. Lay “cut out” letters sent you on perforated lines of pounce pattern and mark each one with a sharp lead pencil. Now you are ready to cut, and with a sharp stencil knife (or pocket knife) cut out letters as follows : In cutting letters, keep away from the lead pencil marks y^ inch (in ordinary size letters). You will find, when gilded and ready to clean off between and

GLASS DOOR SIGNS

around letters, your “cut out” letters are ^i inch larger than the space or letters you have just cut, and when letters are sandblasted, chipped and gild- ed, and the surplus gold is cleaned away, you will then have a chipped gold letter, with a burnished gold outline J^ inch wide around each letter. You will then back them up (as described in Backing Up Letters), and when the “back- ing up varnish” is dry you are then ready for the background, which should be black (or any dark color, such as dark red, dark blue, dark green, etc.) When you have cut the letters out, you are then ready to have them sandblasted. If there is a sandblast machine in your town, or neighboring town, have glass sandblasted and you are ready for chipping, or send us size of glass and wording wanted for sign and we will furnish the glass, cut all neces- sary patterns, etc., GLASS DOOR SIGNS sandblast and chu) the letters ready for you to gild and put on back- ground, border, etc. All you will have to do is gild the let- ters and lay on the “cut out” pattern we send you and clean away surplus gold with brush (as per printed instructions at- tached to the word “Signs” sent you). This is a very sim- ple process that any one with ordinary intellip^ence, good eyes and two hands can do as well as we, and the only reason for above suggestions is on ac- count of so few towns having a sandblast machine. We wish to impress upon your mind again, we are here to help you instead of taking vour monev ;


ETCHING (Glass Door Signs)

ETCHING (Glass Signs)

Ftching glass signs is a very simple process, and when prop- erly executed makes a beauti- ful sign for either outside or inside work. Coat glass to be etched with best “turpentine asphaltum,” thinned with tur- pentine (about two parts as- phaltum and one part turpen- tine), and when dried to proper tack (not too dry) roll on lead foil, smoothing out all wrinkles carefully with thumb and fin- ger. Now coat with a thin wash of whiting, with a \ ery little Le Page’s Glue (enougli to bind) thinned with water. This may be aj^plied with a “wad” of cottoti. Now pounce

Glass  Door Signs


on your “layout” and go over lines, correcting the letters. This will prevent rubbing off “layout” with your sleeve or while working on the job. Cut out letters with a needle and |.Mck out foil where glass is to be etched. Then wash care- fully with benzine or turpen- tine (turpentine preferred), bank (or putty) edges of glass with thick putty made of bees- wax and a very little asphal-


tum, which should be heated a trifle. If too thin, add enough whiting to make thick like putty, using the thumb to bank or putty edges, which should be j^2 to ^ of an inch deep or high on edge. Now coat the letters with thin Le Page’s (due. and sprinkle them with flake graphite. To one part of hydrofluoric acid add three parts water and pour on glass until letters and background


STENCILING DOOR SIGN

STENCILING DOOR SIGN

To make a stencil for (|u;m- titv work, always make “male” and “female.”

h^irst make “i)ounce” pattern ;ind jjerforate.

I’ounce this on i)re])ared stencil paper and cut out half of each letter. This is called the “male stencil.”

Now i)lace this stencil on an- other i)iece of stencil pai)er and make impression of same by


going over half cut letters with your dark “pounce bag.”STENCILING DOOR SIGN

Then place your “pounce” pattern or “layout” on this to get the other half of letters and cut. This is called the “female stencil.”

Cover a 2 inch paper hanger roller with heavy plush, and roll your color instead of using a stencil brush.

Use color heavy and not too much on the roller. By work- ing the roller semi-dry, you will find your letters will be per- fectly clean when finished. When done with roller and stencils, wash thoroughly in turpentine and hang stencils on a nail, which will keep them perfectly straight.

With this treatment they will last for years.

Make stencil color of lamp black, ground in oil, and add a little fat oil to make color good and stiflf.

For background stencils see “cut in” letters.